How to Tank a Basement
Basement tanking creates a waterproof barrier to keep water out of your below-ground space. This guide explains the different tanking methods, when tanking is the right choice, and how to ensure a successful result.
Request an Inspection
Leave us your details and we'll be in touch
What Is Basement Tanking in Suffolk, Norfolk & Essex?
Basement tanking is the application of a waterproof coating or membrane to the walls and floor of a basement to create a barrier against water ingress. The concept is straightforward: you are effectively creating a waterproof container (a tank) inside or outside the basement structure that prevents groundwater from reaching the internal surfaces.
Under British Standard BS 8102:2009, tanking is classified as Type A waterproofing — barrier protection. It works by providing a continuous, bonded waterproof layer that resists the passage of water under pressure. This is distinct from Type C systems (cavity drain membranes) which manage water rather than blocking it, and Type B systems which rely on the concrete structure itself being watertight.
Tanking has been used for centuries — historically using bitumen, tar, and lead sheet. Modern tanking systems use advanced cementitious compounds, polymer-modified slurries, and synthetic membranes that provide far more reliable and durable protection. However, tanking remains a technique where the quality of the preparation and application is absolutely critical to success.
Internal Tanking vs External Tanking in Suffolk, Norfolk & Essex
Internal Tanking
Internal tanking is applied to the inside faces of the basement walls and floor. It is the most practical option for existing properties because it does not require excavation around the outside of the building.
The tanking material bonds directly to the masonry or concrete substrate and must resist water pressure pushing from behind. This means the bond between the tanking and the substrate is critical — any weakness or gap in the bond will allow pressurised water to enter and potentially undermine the entire system.
Advantages:
- No external excavation needed
- Can be applied in sections
- Relatively quick to install
- No disruption to external areas
Considerations:
- Bond with substrate is critical
- Less tolerant of structural movement
- Can be difficult to repair if it fails
- Water pressure works against the bond
External Tanking
External tanking is applied to the outside of the basement walls before backfilling with soil. Water pressure actually helps push the membrane or coating against the structure, rather than trying to push it off.
This is the ideal approach for new-build basements because it keeps the structure itself dry, reducing the risk of long-term deterioration. However, for existing properties, it requires full excavation around the basement perimeter, which is often impractical, expensive, or impossible due to boundary constraints.
Advantages:
- Water pressure pushes membrane onto wall
- Protects the structure from water contact
- Ideal for new-build situations
- Very long lifespan when protected from damage
Considerations:
- Requires full external excavation
- Often impractical for existing properties
- Risk of damage during backfilling
- Expensive due to excavation costs
Step-by-Step: Internal Basement Tanking in Suffolk, Norfolk & Essex
Preparation Is Everything
The substrate must be clean, sound, and free from contamination. All loose plaster, render, paint, and debris are removed back to the bare masonry or concrete. Defective mortar joints are raked out and repointed with a compatible mortar. Cracks are chased out and filled with a waterproof repair mortar. Any active leaks are plugged with fast-setting hydraulic cement. The surface is then dampened (but not saturated) to aid adhesion of the tanking slurry.
Prime the Substrate
A priming coat or slurry primer is applied to the prepared surface. This improves the bond between the tanking coats and the substrate, and helps to regulate the suction of porous masonry. The primer is typically a thin cementitious slurry brushed vigorously into the surface.
Apply First Tanking Coat
The first coat of tanking slurry is mixed to the manufacturer's specification and applied by brush, trowel, or spray to a minimum thickness (usually 1–2mm per coat). The slurry is worked into the surface using firm brush strokes to ensure full contact and adhesion. Particular attention is paid to corners, junctions between walls and floor, and around pipe penetrations where reinforcing tape may be bedded into this first coat.
Apply Second (and Third) Coats
Subsequent coats are applied at right angles to the previous coat once the preceding coat has stiffened sufficiently (usually 2–4 hours, depending on temperature and humidity). Most systems require two or three coats to achieve the specified total thickness. Each coat must be applied at the correct thickness — too thin and the waterproofing is compromised; too thick and it may crack during curing.
Detail All Junctions and Penetrations
The wall-to-floor junction is a critical point and usually receives additional treatment — a coved fillet of waterproof mortar is formed in the angle, and extra coats of tanking slurry are applied over it. Pipe and cable penetrations are sealed with compatible waterproof sealant. Window and door openings are detailed to ensure the tanking is continuous and there are no gaps.
Curing and Protection
The tanking must be cured properly — kept damp for at least 48 hours to prevent cracking. It is then allowed to dry before the space is finished. The tanked surface can be plastered over with a sand and cement render, dry-lined with plasterboard on battens, or left exposed depending on the intended use. Mechanical fixings through the tanking should be avoided where possible, as each fixing creates a potential leak point.
When Is Tanking the Right Choice in Suffolk, Norfolk & Essex?
Tanking may be the most appropriate waterproofing method when:
- The basement has good quality, dense substrate (concrete, engineering brick, or dense stock brick) that provides a reliable bond for the tanking material
- Water pressure is moderate — the water table does not regularly rise above the floor level, and there is no history of significant water ingress under pressure
- The building is structurally stable with no ongoing settlement or movement that could crack the tanking
- The basement will be used for storage, utility purposes, or as a workshop where absolute dryness is not critical
- External access is available for new-build situations where external tanking can be applied before backfilling
- Budget is a primary concern, as tanking can be less expensive than a full cavity drain membrane system for simple, low-risk situations
A cavity drain membrane (Type C) system may be more appropriate when:
- The substrate is poor quality, rubble-filled, or has an inconsistent surface that makes achieving a reliable bond difficult
- There is significant water pressure or a history of active water ingress
- The building experiences ongoing structural movement
- The basement will be converted to high-value habitable space where any failure would be costly
- Maximum long-term reliability is the priority
Need Your Basement Tanked?
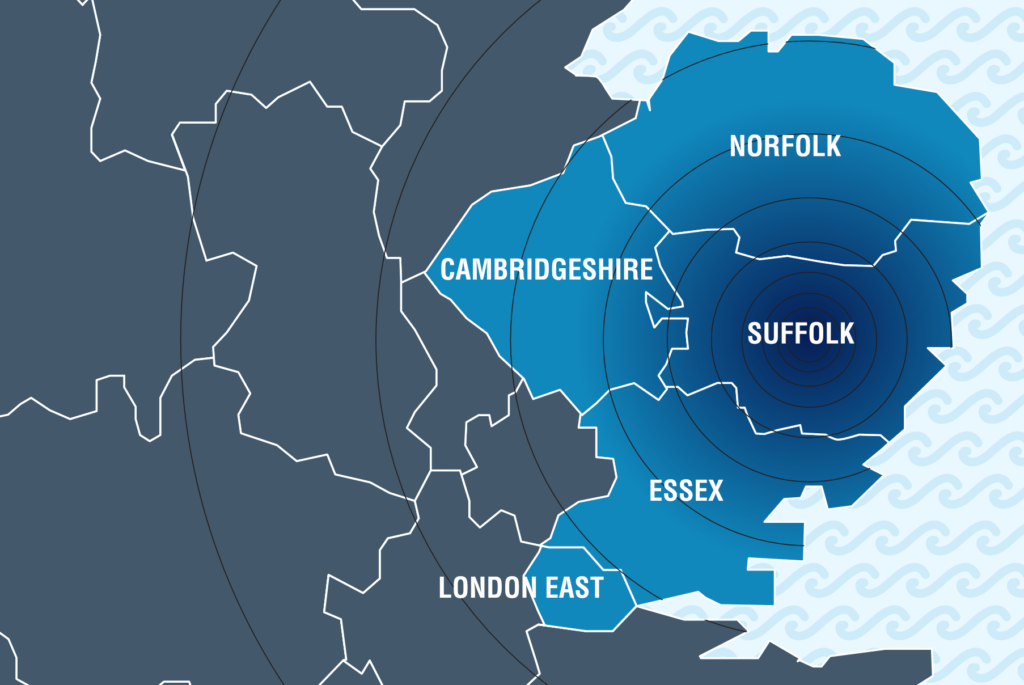
KDS Property Preservation provides professional basement tanking services across Suffolk, Norfolk and Essex. We assess each property to determine whether tanking, cavity drain membranes, or a combined approach is the most effective solution. Contact us for a free, no-obligation basement inspection.